This article documents the journey I took to analyze and decipher MIDI control messages understood by a MIDI control surface: the most delightful Akai Fire. I describe the analysis process, the educated guesses I made, the tools I used, and how I came to a usable specification for the Fire’s MIDI implementation.
This post is a departure from what I usually write about. But keep the faith, it is related to embedded systems, just a slightly different slant.
The Akai Fire
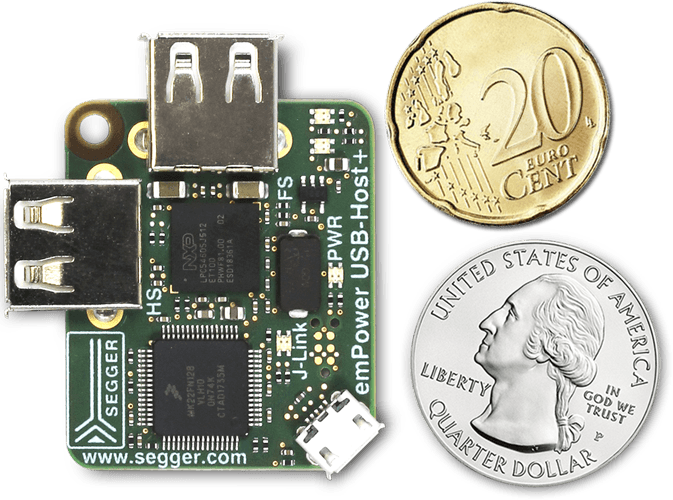
Recently, SEGGER introduced the emUSB-Host MIDI class driver. This is my first contribution to the USB product, a very small contribution, and one that I intend to use a lot! This enables your embedded device to interact with all the MIDI instruments and control surfaces you can imagine, a huge array of equipment.
Here’s what the article will enable you to do with your embedded software, or any other software that is capable of sending MIDI messages:
Pads, buttons, and OLED all lit up, written to, and under embedded control!
If you want to try this yourself, in Part 3 there is a Zip file with an assorted collection of animations over the pad matrix, buttons, and OLED.
What you’re going to read
Because this is so long, I’ve split it into a series of three postings:
- Basic mapping of button, pad, and rotary inputs
- Putting color on the buttons and pad matrix
- The most challenging part, that of bit-addressing the OLED
The final part has some bonus material on the Fire that I’ve not seen anywhere else. Maybe you can unlock some more features?
Anyway, skim through and take what you want from these articles if you’re you’re only interested in how to control the Akai Fire’s pad matrix and button LEDs, or to write something to the OLED display.
Unlit Fire
Before I purchased the Fire I knew that its MIDI implementation was totally undocumented. Akai’s official response to any MIDI implementation inquiry is that they have no interest in documenting the protocol because the Fire is a dedicated controller intended for use with FL Studio. Fair enough, warning heeded, don’t buy a Fire if you intend to use it with something else.
Googling around, others wanted to know how to control the pad illumination and OLED and how to map it. A glimmer of hope is that Akai state that the Fire is completely controllable as a class-compliant MIDI device.
Well, I took a gamble and bought this device to satisfy my need for a new controller and the challenge of decoding the protocol. And to provide, if successful, an interesting blog article that might help others to make use of this fine piece of equipment!
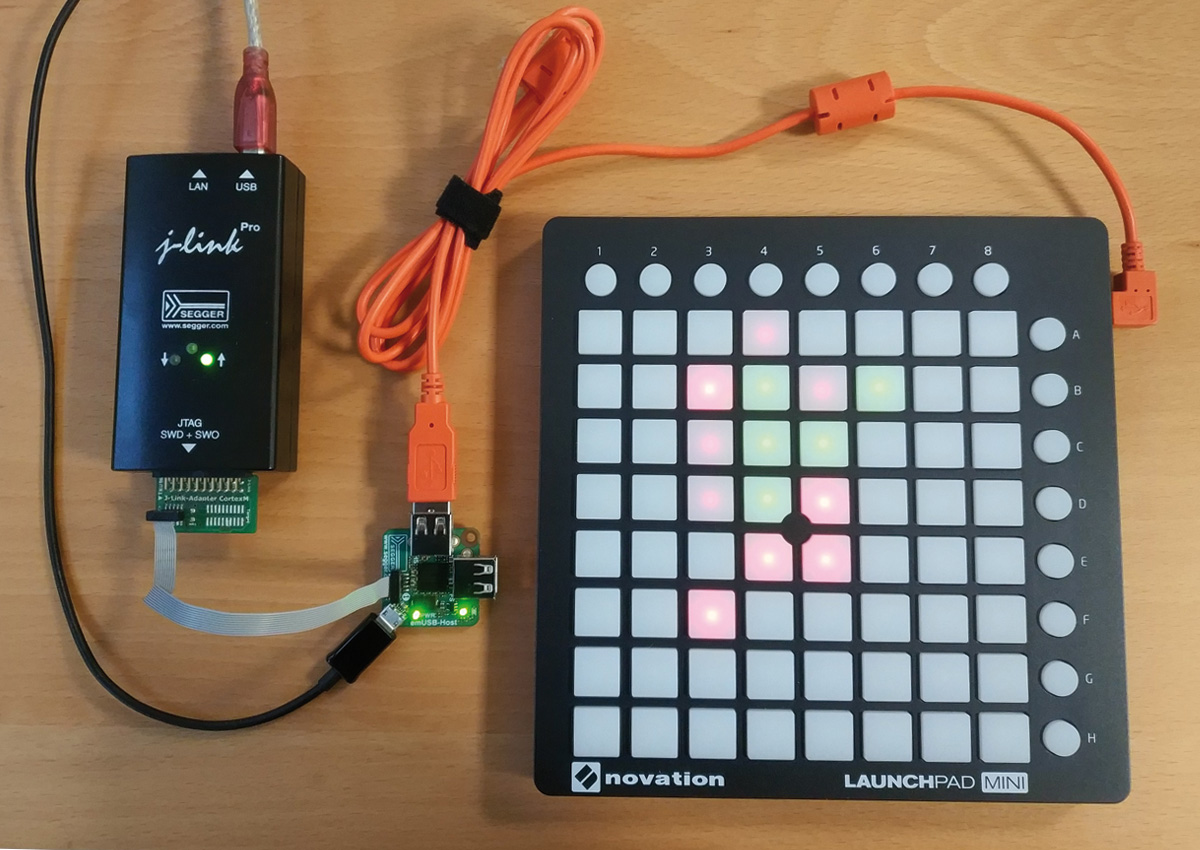
Power + Processor + Launchpad = Reversi
I’ve mapped multiple control surfaces before, from DJ equipment to pad controllers. A relatively simple task most of the time, you exchange standard MIDI note on/off and control change messages to make things happen. Some require System Exclusive messages which adds a little excitement, but these are usually documented.
The most recent mapping I undertook was for a Novation Launchpad mini that I purchased to develop my own sequencer using the SEGGER emPower-USB-Host board.
The Launchpad mini has no MIDI documentation but mapping was simple enough. With the emPower-USB-Host board I figured out the MIDI events generated by the pads and how to illuminate them. It’s standard fare: MIDI pitch carrying LED coordinates and velocity carrying the red and green illumination levels. The pad is as dumb as they come, just the way I like it, and there is no way to command it to pulse or blink a LED autonomously, you must do that all yourself.
With the mapping done and a dash of C programming, I ported emWin’s Reversi game to the Launchpad. It puts the Launchpad to use for something other than rhythm and music performance.
Long story short, I couldn’t get on with a 2×8 arrangement for a track in 16th notes or a cooler 4×4 arrangement. I needed the industry-standard x16 arrangement and that’s what the Fire provides.
Stepping out
After unpacking the Fire, the first thing to do was connect it to a self-made MIDI monitor on the emPower-USB-Host board and see what happens when you start pushing pads and twiddling knobs. Anybody familiar with this activity, automated by many DAWs, will instantly feel comfortable with the following for the buttons:
| Input | Press Event | Release Event | Input | Press Event | Release Event |
|---|---|---|---|---|---|
| STEP | 90 2C 7F | 80 2C 00 | ALT | 90 31 7F | 80 31 00 |
| NOTE | 90 2D 7F | 80 2D 00 | PATTERN | 90 32 7F | 80 32 00 |
| DRUM | 90 2E 7F | 80 2E 00 | PLAY | 90 33 7F | 80 33 00 |
| PERFORM | 90 2F 7F | 80 2F 00 | STOP | 90 34 7F | 80 34 00 |
| SHIFT | 90 30 7F | 80 30 00 | REC | 90 35 7F | 80 35 00 |
| BANK | 90 1A 7F | 80 1A 00 | BROWSER | 90 21 7F | 80 21 00 |
| SOLO 1 | 90 24 7F | 80 24 00 | PAT UP | 90 1F 7F | 80 1F 00 |
| SOLO 2 | 90 25 7F | 80 25 00 | PAT DOWN | 90 20 7F | 80 20 00 |
| SOLO 3 | 90 26 7F | 80 26 00 | GRID LEFT | 90 22 7F | 80 22 00 |
| SOLO 4 | 90 27 7F | 80 27 00 | GRID RIGHT | 90 23 7F | 80 23 00 |
Turning tables
So buttons were easy. Now onto the rotary controls.
| Input | Touch/Press Event | Release Event | Turn event |
|---|---|---|---|
| VOLUME | 90 10 7F | 80 10 00 | B0 10 xx |
| PAN | 90 11 7F | 80 11 00 | B0 11 xx |
| FILTER | 90 12 7F | 80 12 00 | B0 12 xx |
| RESONANCE | 90 13 7F | 80 13 00 | B0 13 xx |
| SELECT | 90 19 7F | 80 19 00 | B0 76 xx |
No surprises here either. Apart from the non-regularity of the SELECT control, we have note-on and note-off events for touching the four rotaries and pressing SELECT.
The ‘xx’ is all relative for the infinite encoders, 7-bit two’s complement so 01, 02…3F are clockwise rotations (of varying angular velocity) and 7F, 7E…40 are counterclockwise rotations.
It’s nice that the four rotaries are touch sensitive, it means that if you use the OLED for a user interface, you’re able to show the value of the controlled item without turning the knob. What a shame that FL Studio doesn’t use this. Perhaps Akai stole this idea from Native Instruments who use the same concept on their Komplete Kontrol A25 keyboard (which I have, along with an S49) and Image Line just didn’t follow through on the implementation.
Firing pads
The pad array is absolutely regular, I’ll not bother to write it out in full:
| Button | Press | Release | Button | Press | Release | |
|---|---|---|---|---|---|---|
| R1 C1 | 90 36 xx | 80 36 00 | … | R1 C16 | 90 45 xx | 80 45 00 |
| R2 C1 | 90 46 xx | 80 46 00 | … | R2 C16 | 90 55 xx | 80 55 00 |
| R3 C1 | 90 56 xx | 80 56 00 | … | R3 C16 | 90 65 xx | 80 65 00 |
| R4 C1 | 90 66 xx | 80 66 00 | … | R4 C16 | 90 75 xx | 80 75 00 |
The ‘xx’ here is the velocity. Akai say that their pads are “limited velocity-sensitive.” That’s an understatement, you hit them and the reported velocity is very, very hard to control. Just consider the reported velocity as somewhat useless.
And so it begins
With this simple mapping complete, it’s time to move on to lighting the Fire’s pads and buttons in part 2.