Imagine you’re just stepping into the world of embedded systems. Your possibilities as a developer are endless—from creating smart home devices to powering industrial automation. But with so many tools, technologies, and processes to learn, where do you even begin?
At SEGGER, we understand how overwhelming it can feel to start a project in embedded development. That’s why we’ve recently organized our portfolio into five categories: Create, Build, Debug, Verify, and Program. The categories align perfectly with the natural flow of the development process, taking you from initial ideas to a fully realized product.

To make this process tangible, let’s explore the development of a smart irrigation controller—a device that conserves water by adjusting watering schedules based on soil moisture and weather conditions. We’ll walk through each development step, using SEGGER tools to bring this application to life.
Create—Laying the groundwork
The first step is to create the application’s core functionality. For our smart irrigation controller, this includes features like sensor-data collection, weather-data integration, and user interface design.
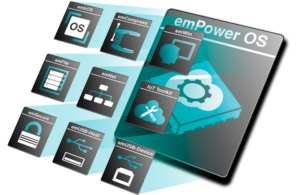
 SEGGER’s emPower OS includes everything needed to build a reliable foundation. This all-in-one software platform provides components such as networking stacks for cloud-based weather data, the emFile file system for storing graphics for the user interface and logging sensor and weather data, and the emWin graphics library for designing the user interface.
Build—Turning ideas into reality
Once we have selected the components, we can use our Embedded Studio integrated development environment (IDE) and its powerful project support capabilities to connect those components and write the application code.
Embedded Studio is a professional IDE designed specifically for embedded systems. For our smart irrigation controller, it helps us integrate code for the microcontroller, optimize memory use, and ensure smooth communication between components. The IDE’s built-in SEGGER Compiler and smart Linker make it easy to produce efficient, optimized code, which is crucial for resource-constrained devices.
For example, if our controller needs to run on a low-cost microcontroller with limited memory, Embedded Studio ensures that the compiled code uses minimal resources, helping us stay within hardware constraints without sacrificing performance.
Debug—Perfecting the application
No application works flawlessly on the first try. Debugging is a critical step in ensuring our irrigation controller functions as intended. With SEGGER’s J‑Link debug probes, we can test and refine the application directly on the target hardware.
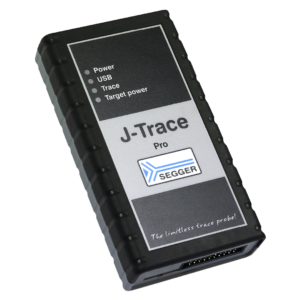
 During testing, we might notice that the controller isn’t responding to soil moisture readings as expected. Using J-Link, we can set breakpoints, examine the code, and analyze variables in real time to pinpoint the issue. Additionally, J-Trace enables us to capture detailed execution traces, revealing timing issues or performance bottlenecks that could affect responsiveness.
These tools make it possible to quickly identify and resolve bugs, ensuring our application operates smoothly and reliably.
Verify—Ensuring quality and reliability
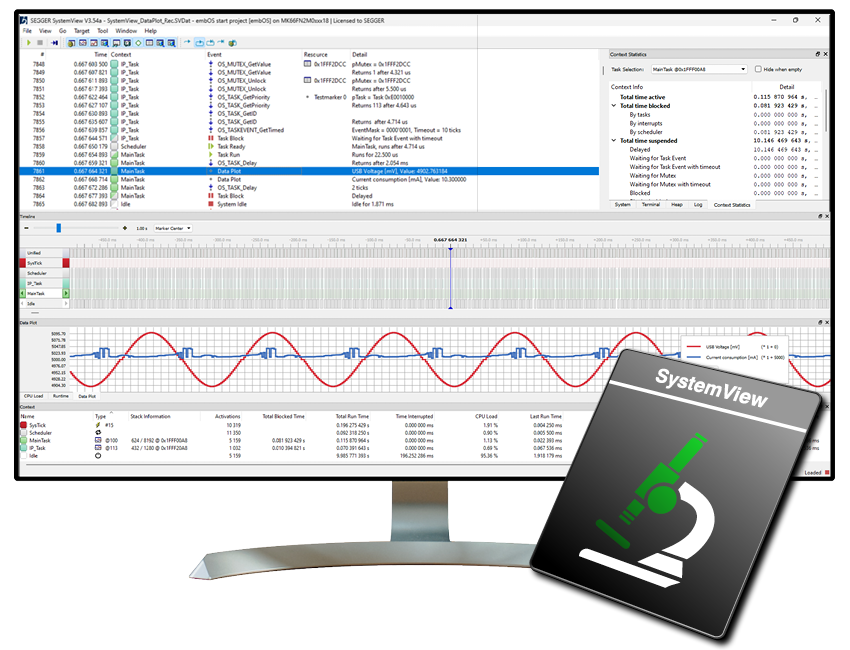
With the core functionality in place and the initial bugs resolved, the next step is to verify the system’s behavior. SEGGER’s SystemView offers real-time insights into how the application behaves during operation.

For our irrigation controller, SystemView helps us analyze critical aspects like task execution timing, memory use, and CPU load. This is especially important when dealing with time-sensitive tasks, such as turning off the water valve based on sensor input.
For example, if the controller experiences delays in responding to sensor data, SystemView reveals whether the issue lies in task scheduling or resource contention, allowing us to fine-tune the system for optimal performance. Verification ensures our application is ready for the challenges of real-world use.
Program—Delivering the final product
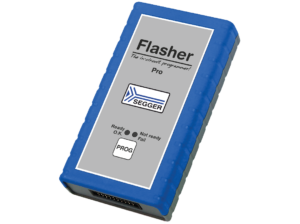
 The final step is to program the application onto the hardware. SEGGER’s Flashers make this process fast, secure, and scalable, whether we’re preparing a prototype or producing the controller at scale.
Using a Flasher, we transfer the finalized firmware to the microcontroller’s flash memory. For high-volume production, Flashers support automated programming setups, ensuring every device is programmed consistently and reliably.
In our example, the Flasher ensures that each smart irrigation controller leaves the production line with the correct firmware, and that it is ready to help users save water and maintain healthy gardens.
One toolbox for all requirements
By following SEGGER’s five-step process—Create, Build, Debug, Verify, and Program—we’ve transformed an idea for a smart irrigation controller into a polished, production-ready product. From the initial concept to the final product, our tools support every step of the embedded development process.
Whether you’re building your first embedded application or tackling complex industrial systems, SEGGER supports you with everything you need to simplify your embedded projects.
So, what will you build next?