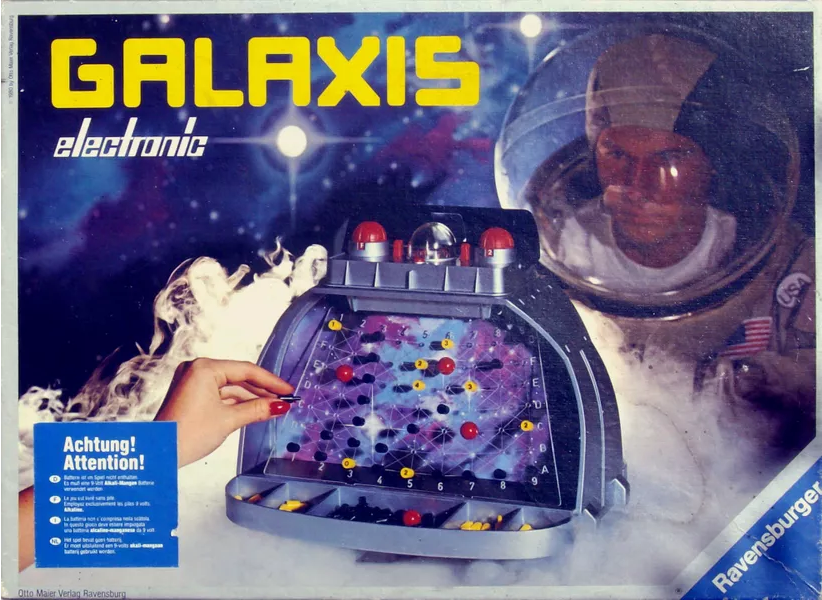
In the early 1980s, the first electronic games started to emerge. I was a young teenager at the time, so they certainly caught my attention. One of my favorite games was Galaxis, which was released in 1980 by the well-known German company Ravensburger. I even own the game to this day, and it still works!
A little while ago, just for fun, I had the idea of implementing Galaxis on the NXP evaluation kit for the i.MX RT1052, using SEGGER tools and software. I also wanted to see if I was still able to produce some working C code. This three-part blog post series documents this endeavor.
The game
Galaxis is related to Battleship. The challenge is to locate four “lost” spaceships on a 7×9 grid. You can query “buoys” that are positioned at every grid location in order to give you the local status. Each buoy either responds with a ship found at those coordinates or with the number of ships it can detect along the grid lines extending out in every direction from its position. By correctly evaluating this information, a player can significantly reduce the number of moves required to locate the four ships and win the game. You can play by yourself (to practice, essentially), or you can play against another player to see who is able to find the missing ships quicker.
The first steps
Okay, the idea to recreate this game was born, but the question I then faced was, “How should I get started?”
Obviously, the TFT display on the NXP i.MX RT1050 evaluation kit (EVK) had to show the 7×9 grid of the original game, as well as the iconic Galaxis dome with the four LEDs that indicate the search process, along with some other controls. This meant that a graphics library was required. Luckily, SEGGER’s emWin is perfectly suited for this job.
The easiest way to get started with designing a GUI with emWin is by using the SEGGER AppWizard GUI design tool. And it just so happens that AppWizard includes a board support package (BSP) for the i.MX RT1050 EVK that is able to generate projects for Embedded Studio, SEGGER’s multi-platform IDE. So that was a great starting point.
A skeleton project
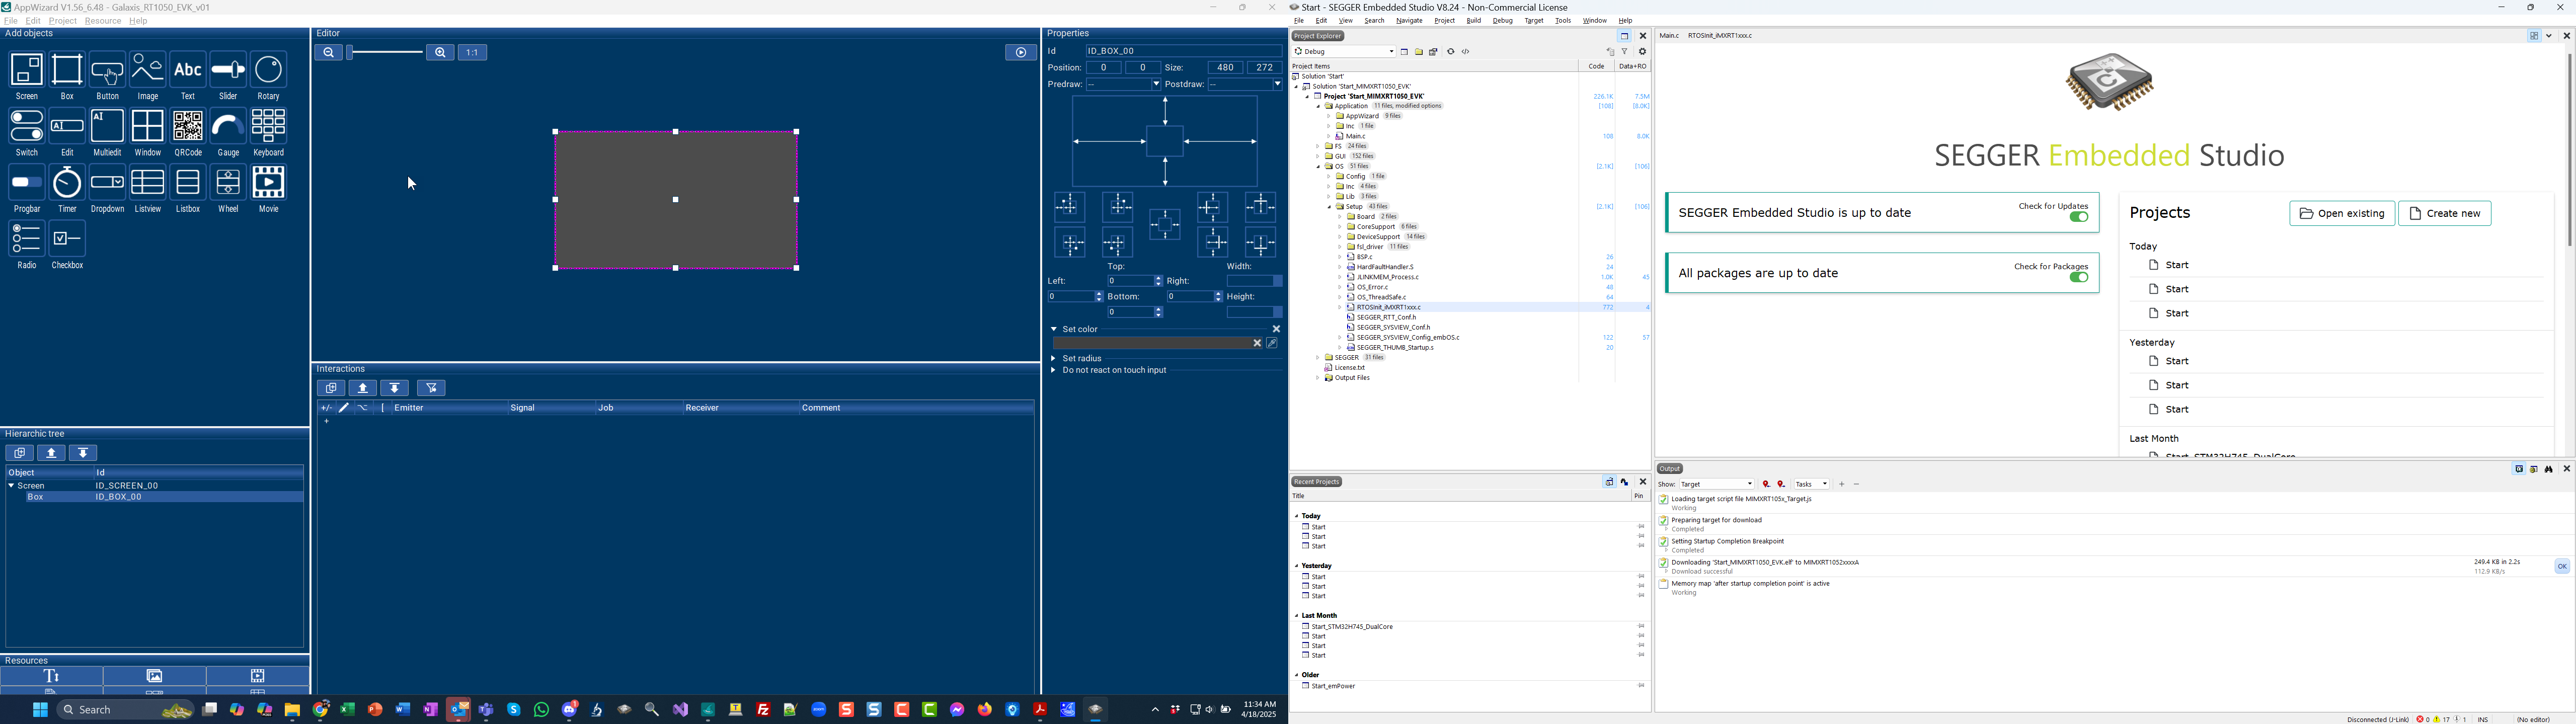
After creating a new project in AppWizard and selecting the BSP for the i.MX RT1050 EVK, AppWizard presented me with an empty canvas in the dimensions of the display on the board (480 x 272 pixels). The required color format (32-bit, GUICC_M8888I) was also already pre-selected. Before moving forward, I wanted to confirm that I was going to be able to get my (yet-to-be-designed) GUI onto the board easily. So I just quickly added a screen object as well as a default box object to the project from the object library, as shown below:
After saving my AppWizard project, I used the Export & Save function to generate the source code for the GUI as well as the associated SEGGER Embedded Studio IDE project (in the Target folder).
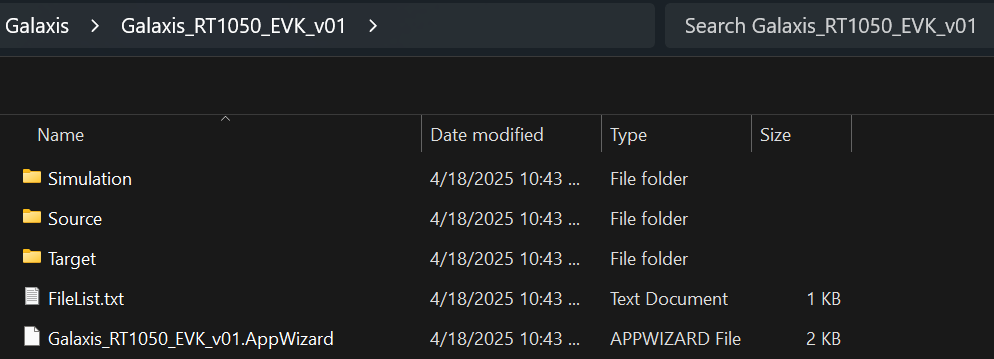
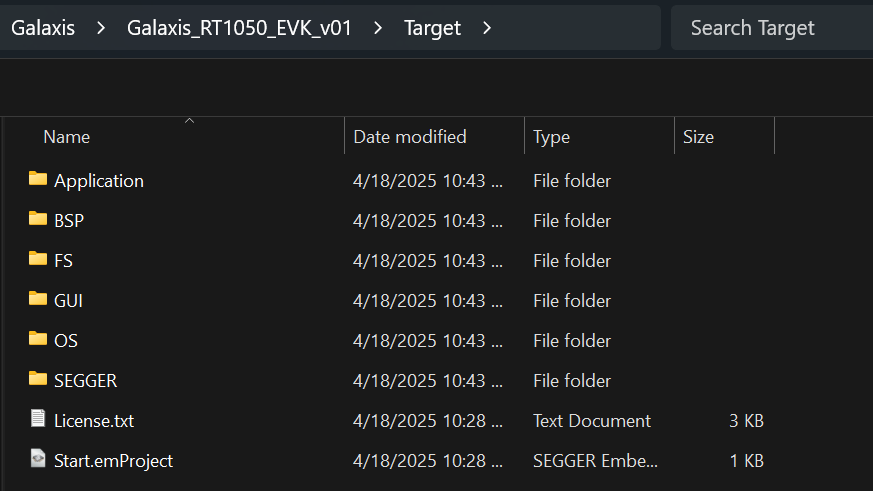
I then double-clicked on the Start.emProject file in the Target folder to open the Embedded Studio project generated by the AppWizard BSP:
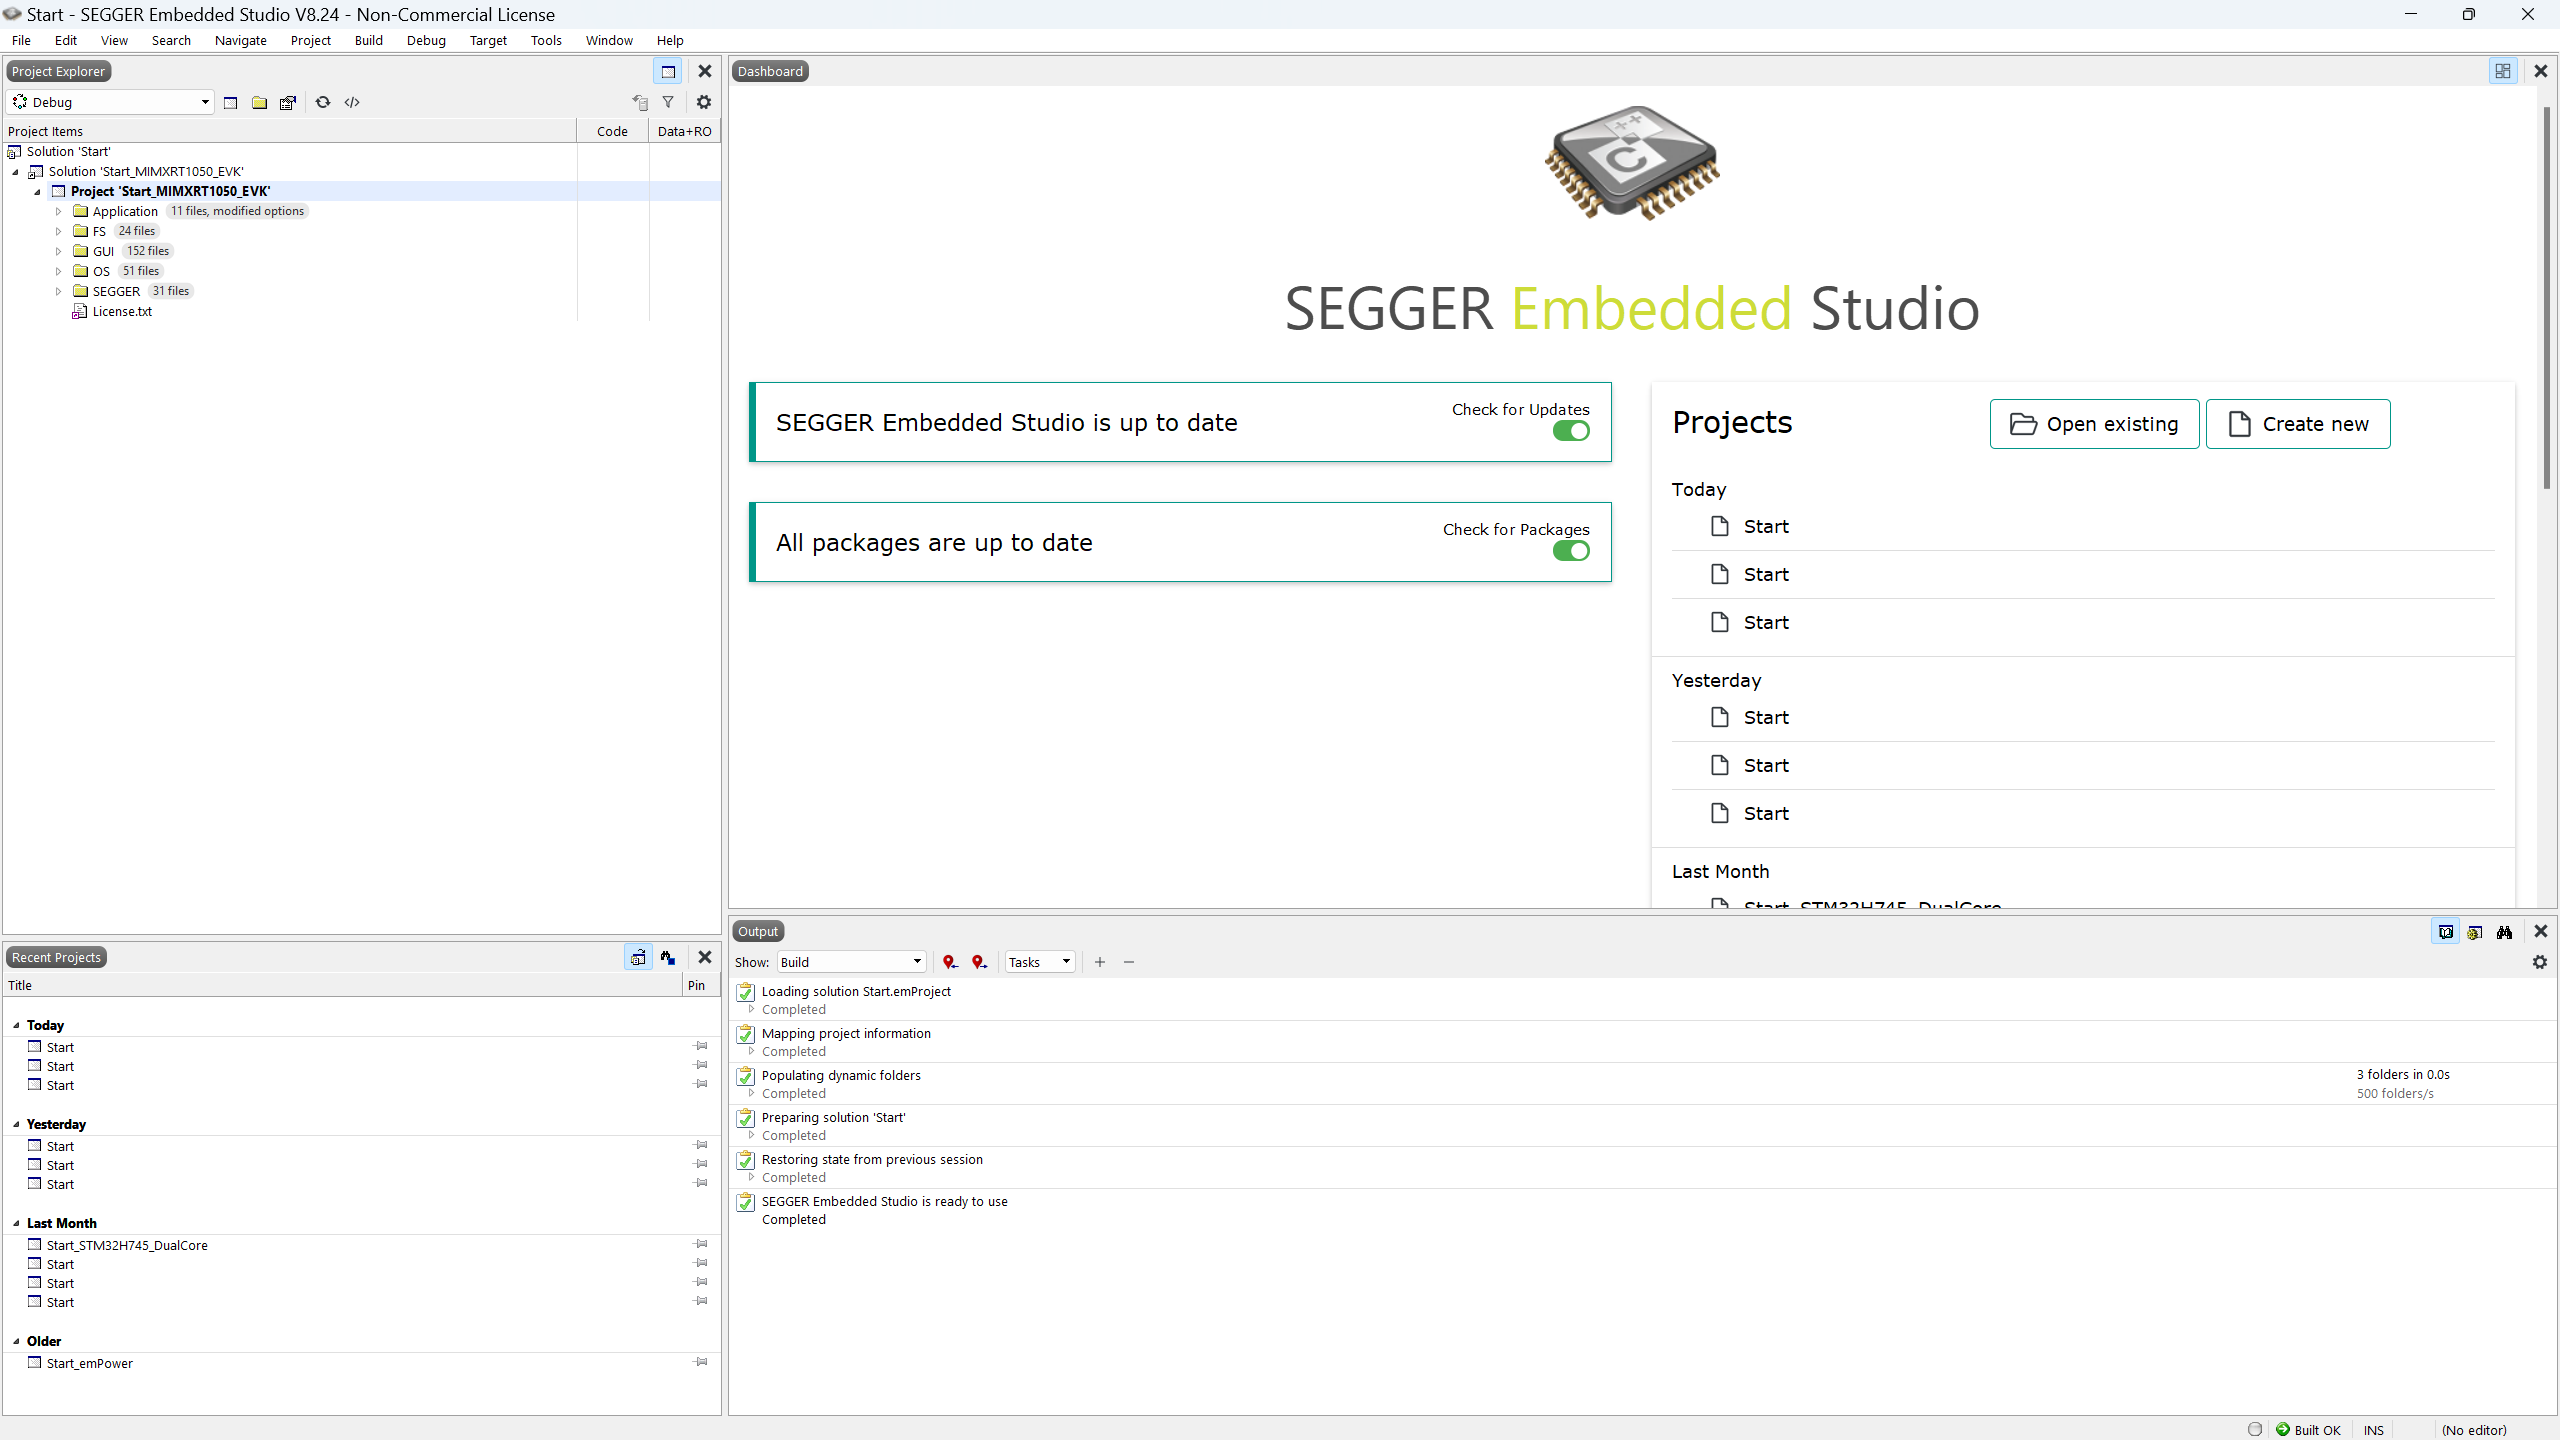
It was time to confirm that the project built and ran as expected. I powered up my i.MX RT1050 EVK and hooked up my J-Link Pro debug probe. By pressing F7 in Embedded Studio, I built the project:

So far so good…
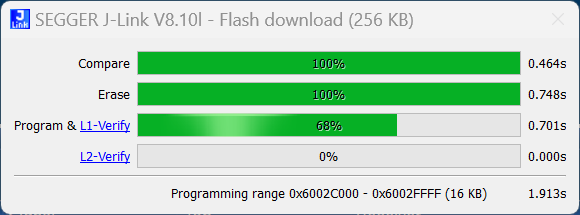
Pressing F5 started the debug session. The J-Link PRO made quick work of programming the application into the QSPI memory on the board:
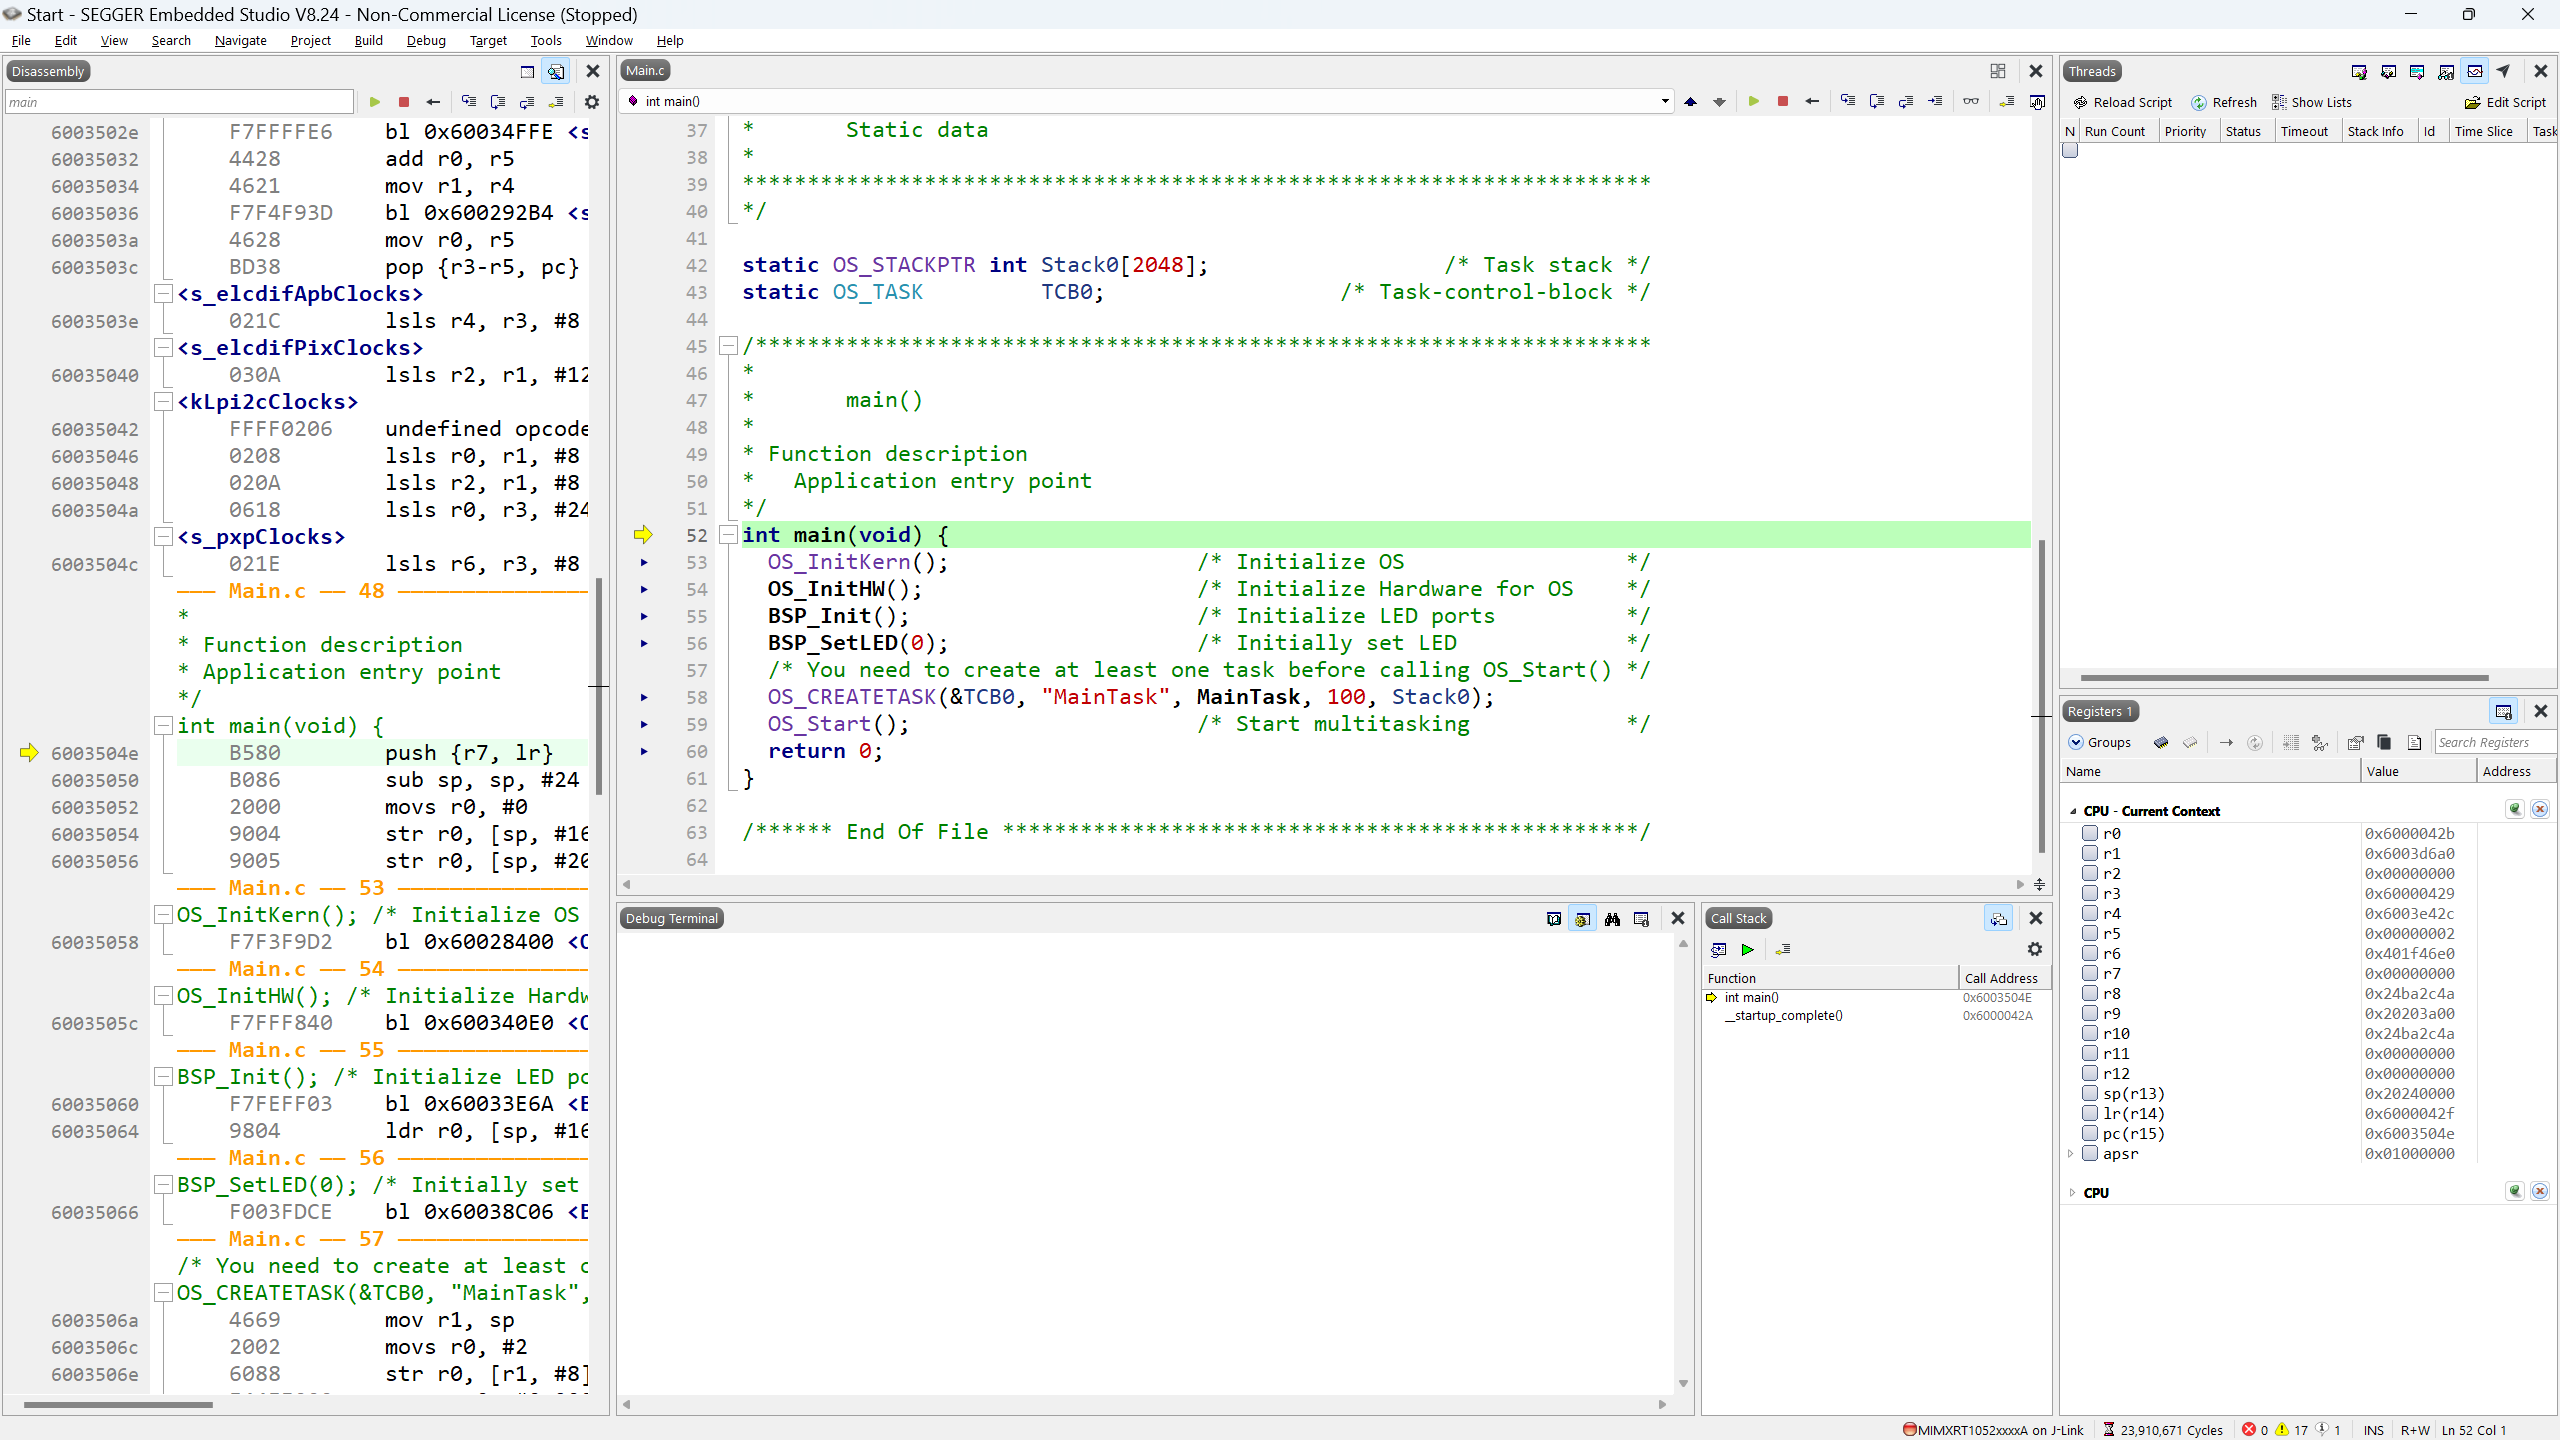
Embedded Studio halted the application at main():
Pressing F5 once more resumed code execution. And voilà: The box I had created in AppWizard appeared on the screen of the i.MX RT1050 EVK. The Embedded Studio project generated by AppWizard included all the initialization and start-up code for the i.MX RT1052 device on the EVK. And the application code generated by AppWizard included the GUI, as well as a SEGGER embOS RTOS / SEGGER emFile file system framework, with plenty of room for my own user code, of course. On my two monitors, I now had a nice environment for taking this project on:
It simply worked! I was ready to implement my Galaxis GUI in AppWizard. To keep things simple, I initially focused on a single player trying to find the four hidden ships. I figured I would deal with the two-player mode later on.
Implementing the game grid
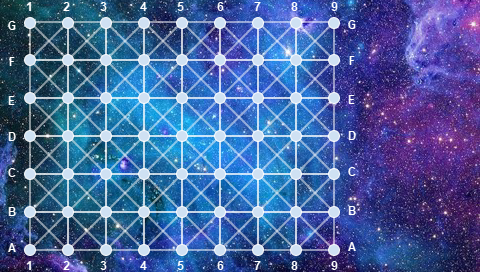
The Galaxis game grid is an array of 9 columns (1–9) and 7 rows (A–G) that holds the missing spaceships. Using another trusted tool of mine, SnagIt from TechSmith, and an open-source image of a stellar object, I created a 480×272 pixel background image that had the static game grid on the left and some room for user interaction on the right.
To add the image to the GUI in AppWizard, I added an image object and set its bitmap to the background image I had created.
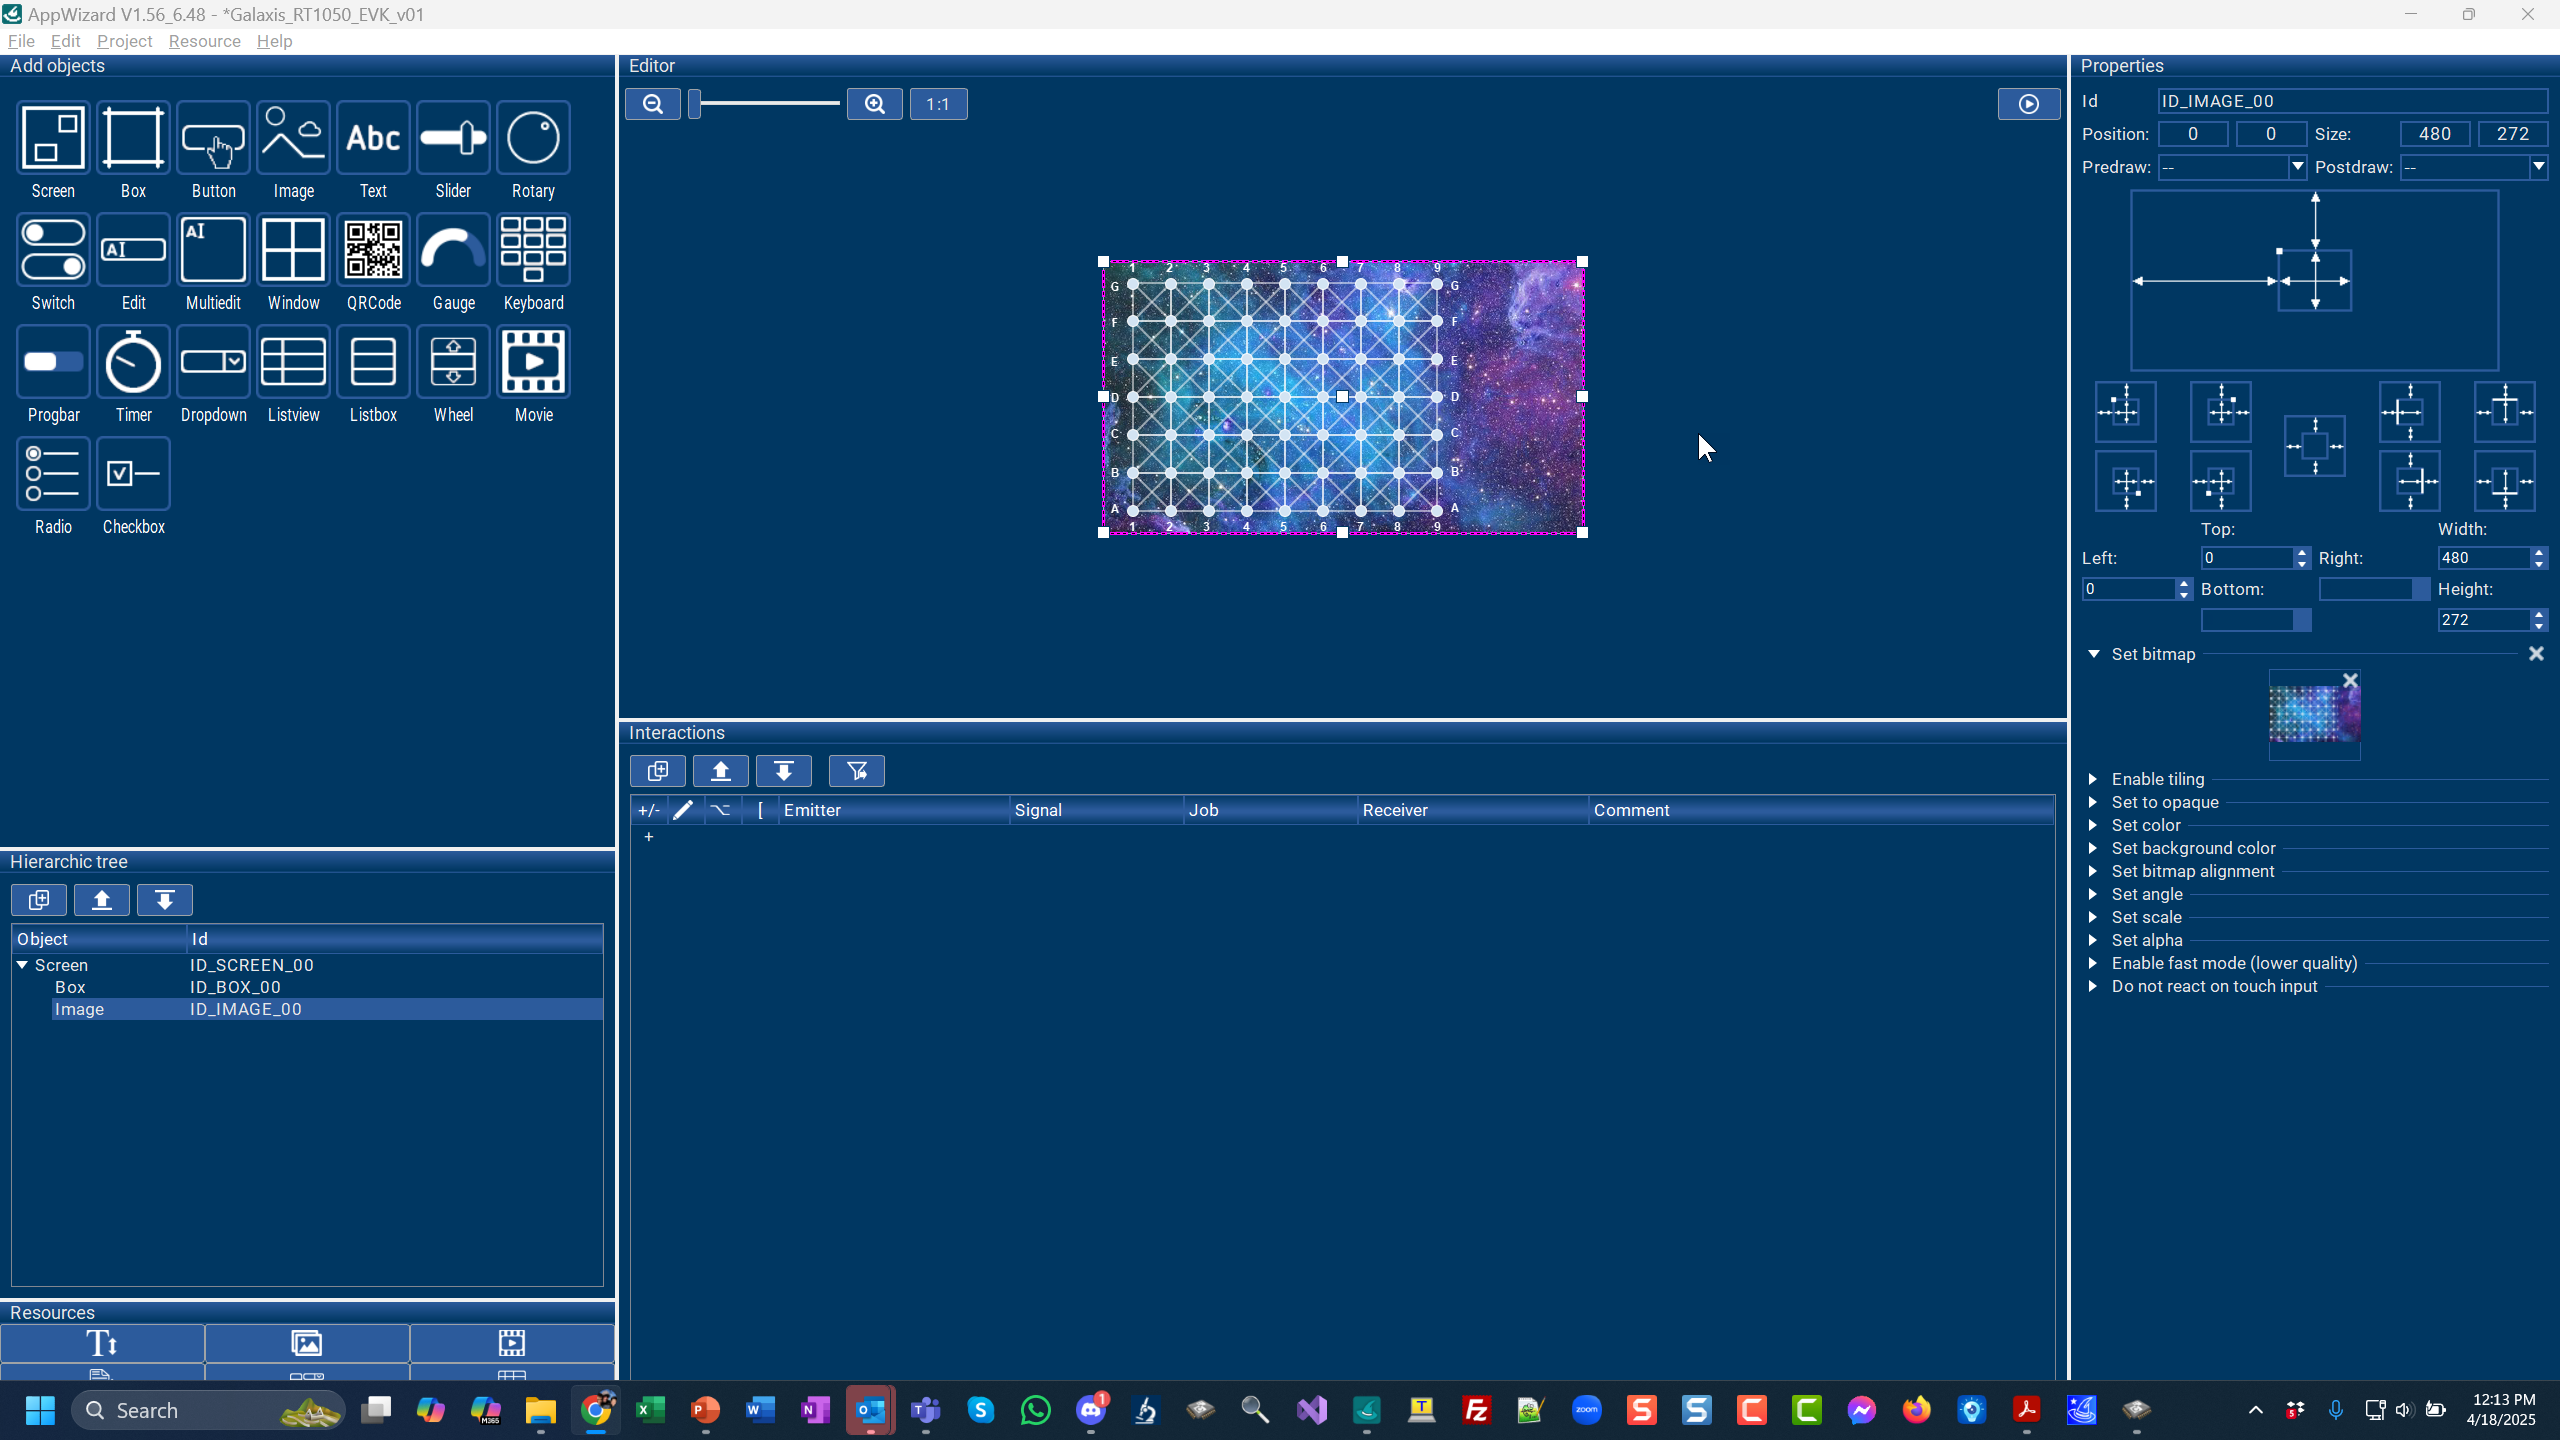
A quick Export & Save in AppWizard, and a quick reloading, rebuilding, and re-downloading of the project in Embedded Studio confirmed that the image made it onto the screen okay. Not a bad start!
As a side note, I could have also used emWin’s drawing capabilities to create the grid in AppWizard and added text objects for the column and row headers. But since I wanted a nice deep-space background image anyway, and the game grid was going to be static, I felt it was easier to combine the grid and the background image.
That’s it for Part I of this post. Part II will cover the user-input and game-output elements, as well as reactions to the player’s touch events, and implementation of the bulk of the game’s user code.
Stay tuned!
2 comments:
Comments are closed.